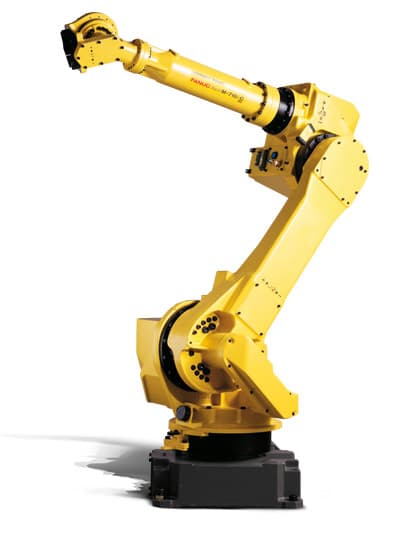
A practical troubleshooting reference for the most common FANUC robot alarms — SRVO, MOTN, and SYST codes — with root causes and step-by-step fixes for each.
FANUC alarm codes are organized by subsystem: SRVO (servo drive and motor), MOTN (motion planning), SYST (system), APPL (application), and others. When an alarm fires, the controller halts and displays a code + description on the iPendant. This guide covers the 10 alarms you are most likely to see in production — their root causes and the quickest path to resolution.
Before attempting any fix: press MENU → ALARM → F3 (HIST) to view the full alarm history. Alarms often fire in chains — identify and fix the first alarm, not the last one displayed.
1. SRVO-023 DCAL Alarm (Drive Discharge Abnormal)
One of the most common alarms, DCAL fires when the servo amplifier's regenerative discharge circuit detects an overvoltage condition. This usually happens when the robot decelerates too quickly and the regenerative energy cannot be dissipated fast enough.
Root causes and fixes:
- Too-fast deceleration: reduce CNT values, add FINE points, or lower speed percentages on high-inertia moves
- Failed regenerative resistor: measure resistance across terminals — replace if open or shorted
- DC bus overvoltage: check incoming AC voltage (should be 200–230V or 380–480V depending on model)
- Amplifier fault: if resistor checks out, replace the servo amplifier unit
2. SRVO-062 BZAL Alarm (Battery Zero)
BZAL fires when a battery (controller or encoder) is dead or disconnected. This is a serious alarm — if encoder batteries die completely, the robot loses its calibrated zero position and requires mastering (recalibration). Do not ignore low-battery warnings.
Resolution steps:
- Identify which battery: controller battery (CR board) or axis encoder battery (inside J1 base cover)
- Replace batteries with the robot powered ON — never swap encoder batteries with power off
- After replacement, press RESET and verify mastering data is intact (SYSTEM → MASTER/CAL)
- If mastering data was lost: perform zero-degree mastering or quick mastering procedure
3. SRVO-050 Collision Detection Alarm
Collision detection fires when the controller detects a force greater than the configured threshold on any joint. This protects the robot from damage during unexpected contact. It can be a real collision — or a false positive from incorrect sensitivity settings.
Troubleshooting steps:
- Inspect the robot and fixtures for physical contact or obstruction
- Check if payload settings are correct (PAYLOAD command) — incorrect settings cause false triggers
- Review sensitivity: MENU → SETUP → Collision Detection → adjust sensitivity level
- Verify the tool weight and center-of-gravity are configured correctly in the TOOL frame
4. SRVO-001 Operator Panel E-Stop
The E-stop circuit was opened. This could be the physical mushroom button, a safety relay, a fence interlock, or a PLC-commanded stop. The controller will not reset until the E-stop circuit is closed.
Resolution:
- Release all E-stop buttons (twist to unlock) and verify fence contacts are closed
- Check the safety relay panel — a failed relay will keep the circuit open
- Use the iPendant I/O monitor (MENU → I/O → Digital) to watch the EAS1/EAS2 signals
- If PLC-commanded: check the FENCE signal from the PLC is being released
5. MOTN-017 Singularity / Joint Velocity Limit Exceeded
This alarm fires when the commanded velocity for a joint exceeds its mechanical limit. It most commonly occurs when a Cartesian (L or C) motion in a near-singular configuration causes one joint to spin extremely fast to maintain the path.
Resolution:
- Reduce linear speed on the offending motion line
- Change termination type from FINE to CNT to smooth through the near-singular region
- Retaught the position to avoid configurations near J5 singularity (wrist flip)
- Check if a position was accidentally taught with J5 near 0° — this is the most common cause
6. SRVO-004 Fence Open Alarm
The safety fence interlock was opened while the robot was in AUTO mode. This is a designed safety stop — the robot cannot restart in AUTO until the fence is closed and the alarm is reset from outside the fence.
7. SRVO-018 Brake Abnormal
The brake release circuit or the brake itself has failed. This is a hardware fault requiring physical inspection. Do not attempt to run the robot until resolved — a failed brake can cause uncontrolled axis drop.
Steps:
- Identify which axis (the alarm includes the axis number)
- Check brake release voltage at the servo amplifier
- Physically verify the brake engages and releases correctly
- Replace the brake unit or motor if faulty — do not bypass the brake
8. SYST-009 Background Logic Fault
An error occurred in a Background Logic (BG Logic) task. BG Logic runs continuously in the background, monitoring I/O and triggering actions. A fault here stops the background task but not necessarily the robot program.
Troubleshooting:
- MENU → SETUP → BG Logic → identify which condition line caused the fault
- Common cause: a CALL instruction referencing a non-existent program
- Check for divide-by-zero or out-of-range register values in BG Logic conditions
- Disable BG Logic temporarily to confirm it is the source, then fix the faulty line
9. SRVO-068 DTERR Alarm (Serial Data Error)
Serial communication error between the servo amplifier and the encoder. This is almost always a cable or connector issue — the fiber optic cable between the amplifier and the motor encoder has failed or been damaged.
Resolution:
- Inspect fiber optic cables for bends tighter than 30mm radius, cuts, or connector damage
- Reseat all fiber connectors at the amplifier and motor end
- Replace the fiber cable if damaged — do not splice fiber
- If cable checks out, the encoder itself may have failed
10. SRVO-007 External E-Stop Alarm
An external E-stop signal was received — typically from a PLC, safety controller, or peripheral device (conveyor, press, vision system). Unlike SRVO-001, this originates from an external input rather than the robot's own E-stop circuit.
Resolution:
- Check the external E-stop input (EES1/EES2) on the robot controller terminal board
- Monitor the PLC output that drives this input — is it releasing after the condition clears?
- Use the iPendant I/O monitor to watch the EES signals in real time
- If using a safety relay, verify the relay reset sequence is completing correctly
If you are dealing with a recurring alarm that you cannot resolve, Xpert Robotics offers remote and on-site diagnostics for FANUC systems throughout Israel — with emergency response within 8 hours.